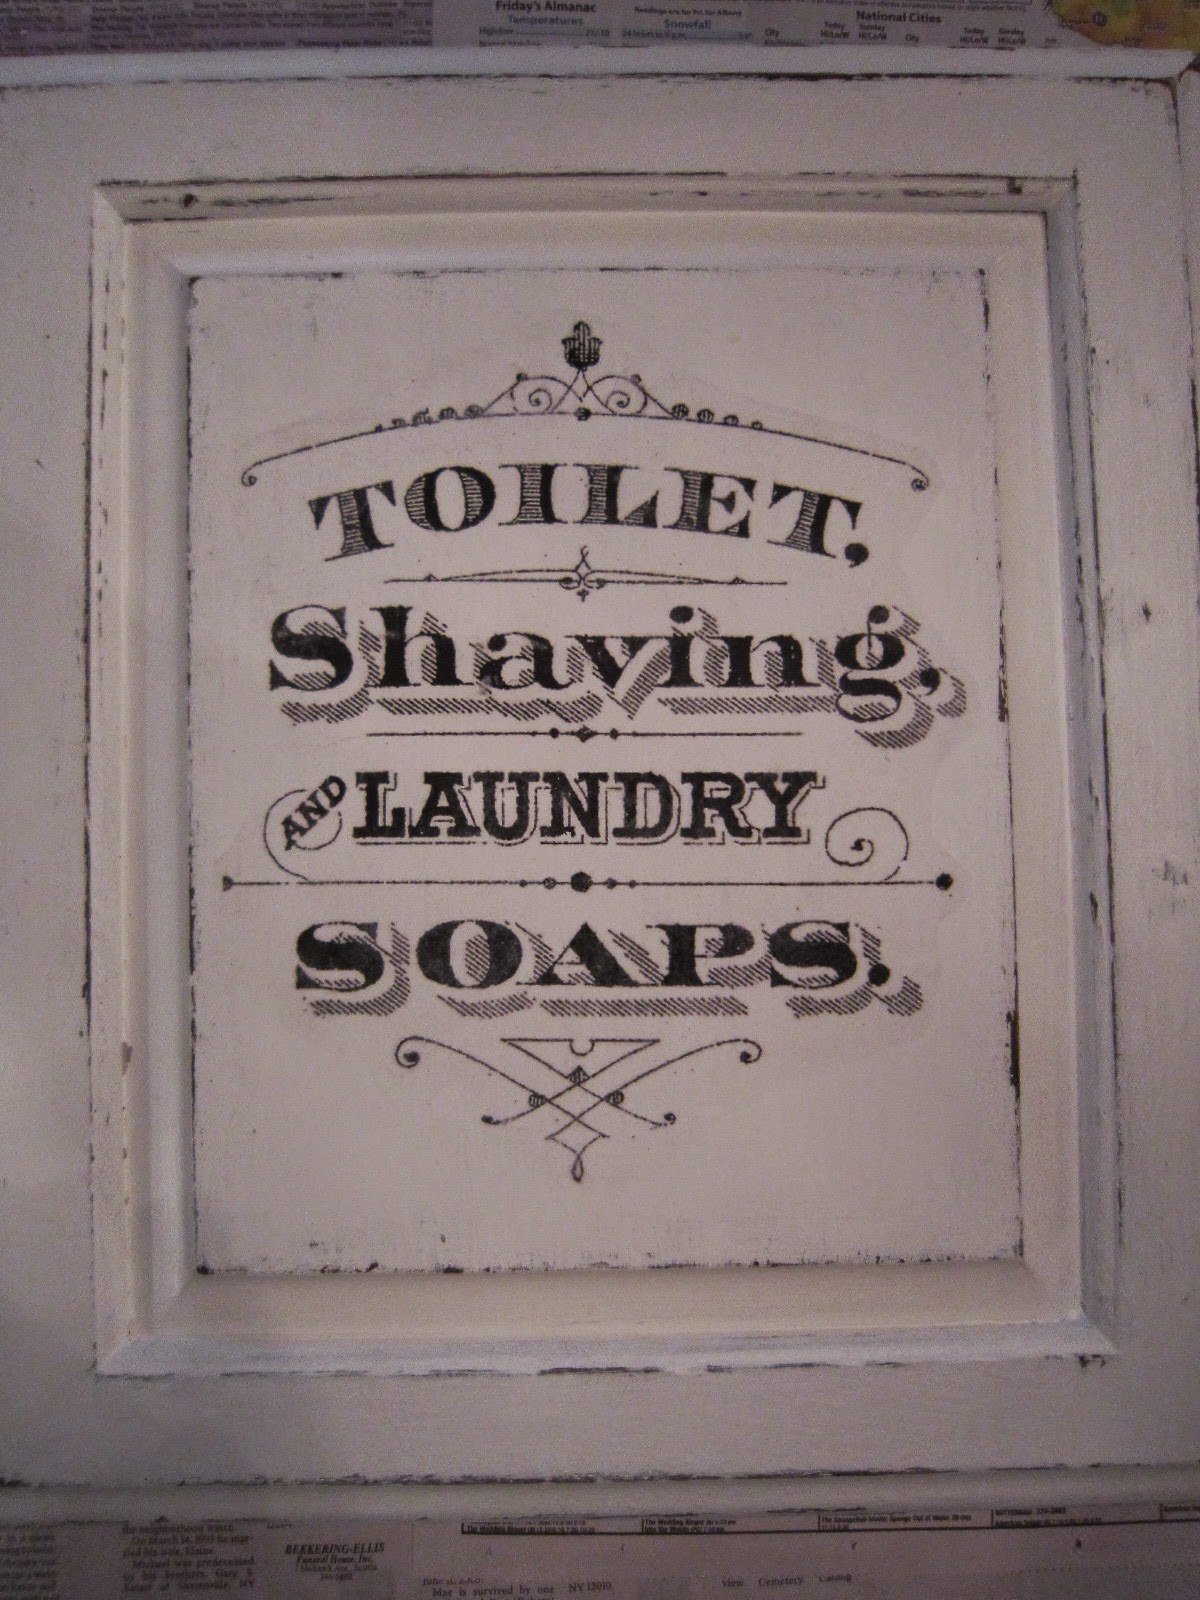
The finished product makes me look like a very talented painter, doesn't it? But guess what? Besides the wood itself it involved NO PAINTING and it was SO EASY!

I found this image on The Graphics Fairy website and thought it would make a really cute sign for the bathroom. If you've never visited the Graphics Fairy website you should. She has free images for just about anything you might want.
Now there's no way in hell I could paint this so I did some major googling on transferring images. There were a few different methods out there but I picked the one that uses Modge Podge basically because I had all the supplies on hand.
In order to transfer an image you need to print it in reverse image. The Graphics Fairy website already had this done for me but you can do it yourself in a computer program like Paint. Very important--for this particular transfer method you must print your image on a LASER printer.
So on to the sign. I decided to use one of the cabinet doors off of our old vanity.
First I painted two coats of brown.
When it was dry I put on a coat of wipe on poly sealer, waited about an hour then painted two coats of white.

In the morning I distressed it. I wanted it to look really old.
Now comes the fun part.
I trimmed my image.
Then I brushed a layer of Modge Podge over the printed side.
After it was all coated with Modge Podge I centered it on the wood, then very carefully smoothed out any air bubbles.
Then we wait for it to dry. One site said to wait 24 hours, another said a couple hours. I felt it after a couple of hours and it was dry so I went for it.
Now this part is amazing. I sprayed it with water
and let it soak for about 30 seconds, then I blotted off the water that was puddling.

Then gently rolled off the paper.
Now how cool is that!
Now I have a new-old sign for my new bathroom!
This was a fun project. I'm already looking for my next image so I can make another one!
Thanks for stopping by and see you on Friday for this weeks featured furniture piece!
Donna


No comments:
Post a Comment