Friday, April 10, 2015

Its Friday's Featured Furniture day!

It's Pennies Primitives Friday's Featured Furniture day!


Today's featured piece is this beautiful small white cupboard with a screen door.  

It measures 32" tall.  The top is 21" wide (the body is 18 1/2") and it's 11 1/4" deep (the top is 11 1/4", the body is 10 1/2").   


It reminds me of a piece you would see in an old farmhouse. Don't you think?   


I painted it a bright white and gave it a medium amount of distressing.  


I found these bowls and the matching crock at my favorite local store The Speckled Hen.   It's one of those stores that you walk in and never want to leave!  


T


The uses for this cabinet are endless!


Visit our Facebook page for information on how to purchase this adorable cabinet for your home!    Pennies Primitives


Thanks for stopping by!!

Donna

Tuesday, April 7, 2015

It's Bathroom remodel week!!

Hi everyone!  It's bathroom remodel week!!  Things are going really slow.  Bill had to work on Saturday and Sunday was Easter so we only have the rest of the week to get as much done as we possibly can.  Of course everything we start is leading to something else which then leads to something else, etc etc etc...  I'm thinking that this project is going to take a lot longer than we originally anticipated.   Sigh...

Here are our bathroom "BEFORE" pictures.  If I have the time I will occasionally post some "during" pics.  Sadly I think it's gonna be a while before you get to see the finished project!!  

                 Wish us luck!!!  

BEFORE pics


Our cabinets used to be basic wood cabinets.  One day I decided to paint them black.  I loved them black for about two months.  They were just to dark for such a small area.  I repainted them brown, then white over it and gave then a heavy distress.  I love the way the black and brown show through.  It makes them look so old.  I still really love them and I'm sad to see them go but I am looking forward to double sinks.    


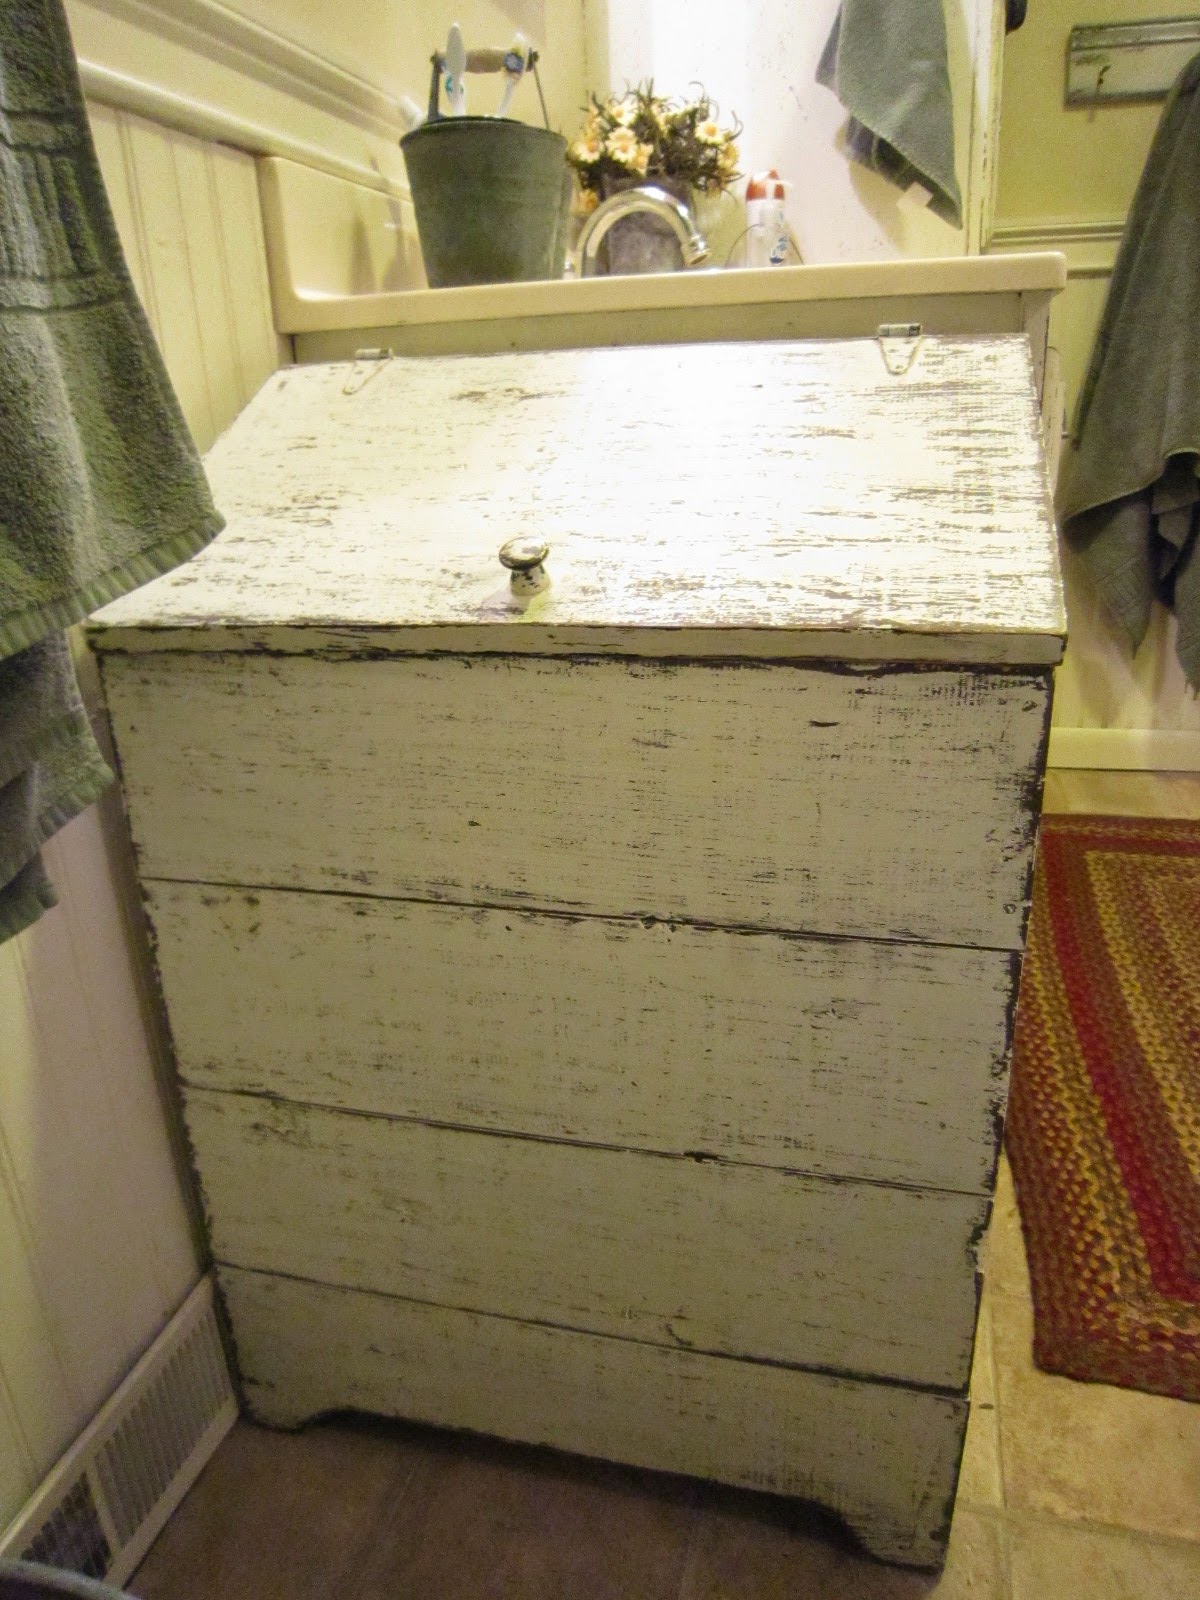
This piece on the end is one of our Pennies Primitive pieces.  This one houses our hamper but I have had customers use theirs for garbage cans, dog food holders and recyclable bins.    


Bill built this little nook a couple months ago.  We figured once we got rid of the tall vanity cabinet we would need someplace for storage.  There was a little closet on the other side of the wall that Bill opened up for this.  I'm not sure what I'm going to do with it yet.  I've been thinking about maybe making a door for it out of an old window?  Or maybe a chicken wire door?  I'm really not sure yet but I'm sure it will come to me!  


 So that's our before pictures.  In case you didn't see my inspirations picture that was in my "Planning out the bathroom redo" post here it is again!  

INSPIRATION PIC-


Hopefully ours will be as nice!!      

***************************************************
Starting this Friday we will be posting our Fridays Featured Furniture piece on our Facebook page.  I will be posting additional pictures here.  Be sure to stop back Friday and check it out! 

          Thanks for stopping by!

                               Donna    

Monday, March 30, 2015

Bathroom vanity redo

It's been a busy couple of weeks.  The custom TV cabinet we were working on is finished and has been delivered.  Now we are working on the same customers two matching end tables.  I decided I will wait to post all the finished pics together.  Bill has been building a few new pieces to feature on our Pennies Primitives Facebook page and they came out AWESOME!  I hope my paint job will do them justice.  So in addition to painting the new pieces I have been working on our bathroom vanity because the bathroom remodel starts in FIVE DAYS.  I'm so excited!!  

I thought I would show you the before and during transition of the vanity but warning, I'm not posting the finished product until its in the bathroom!   


This is a section of the vanity. Its not a great pic since its taken under the bright lights in my shop but you get the idea of the color.   


I know, its really pretty and all you wood lovers probably think I'm nuts to paint it but it doesn't fit my vision of how I want the bathroom to look.   


I normally use Milk paint which adheres to just about anything but I couldn't find the right shade of gray and was to nervous to mix my own custom color.  I could picture myself running out half way through and ending up with a multi colored vanity.  So instead I went with flat latex paint.  I was a little concerned how a latex paint would adhere to such a shiny finish and was envisioning hours of tedious sanding.  Yuck.  Then I found this product in Lowes and figured I would try it.  It worked really well and was way easier than sanding!    


Brush it on

Let it sit for a few minutes

Give it a scrub and the finish comes right off.  


                Looks good to me!  Just a note,  its a little smelly so if you use it make sure you have proper ventilation. 


At this point I wasn't sure what I wanted my end game to be.  Did I want them plain gray?  Distressed?  Glazed? Since I was up in the air I decided I would paint them as if I was going to distress them.  That means they needed a base color.  In case your unfamiliar with distressing, the base color is the color that shows when you sand through. 


I decided on black as my base.  


Bye-bye cherry cabinets!


After the base coat dried I wiped on a coat of sealer. The sealer gives you a little added protection from distressing through the black, all the way down to the original wood.  Of course if you sand too hard you will still get a little of the original wood peeking through but the majority of the distress will be black.  


Now we're ready for the gray.  


I like it!!  Now that I've got the gray on I'm thinking they will look better glazed black instead of distressed. 

Here's a drawer after I added the glaze.  Sorry, I got so anxious to see how they would look I forgot to take pics of the process.  Its very easy.  Brush the glaze on and wipe it off.  


You can see how the glaze just settles in the groves.  It gives it a nice antique look.  


Not a good pic but here's a sneak peak of what I've finished so far. 


You'll have to wait for the Bathroom redo to see the rest! 

Thanks for stopping by and see you soon!  

Donna 


Visit Donna Pennie's profile on Pinterest.